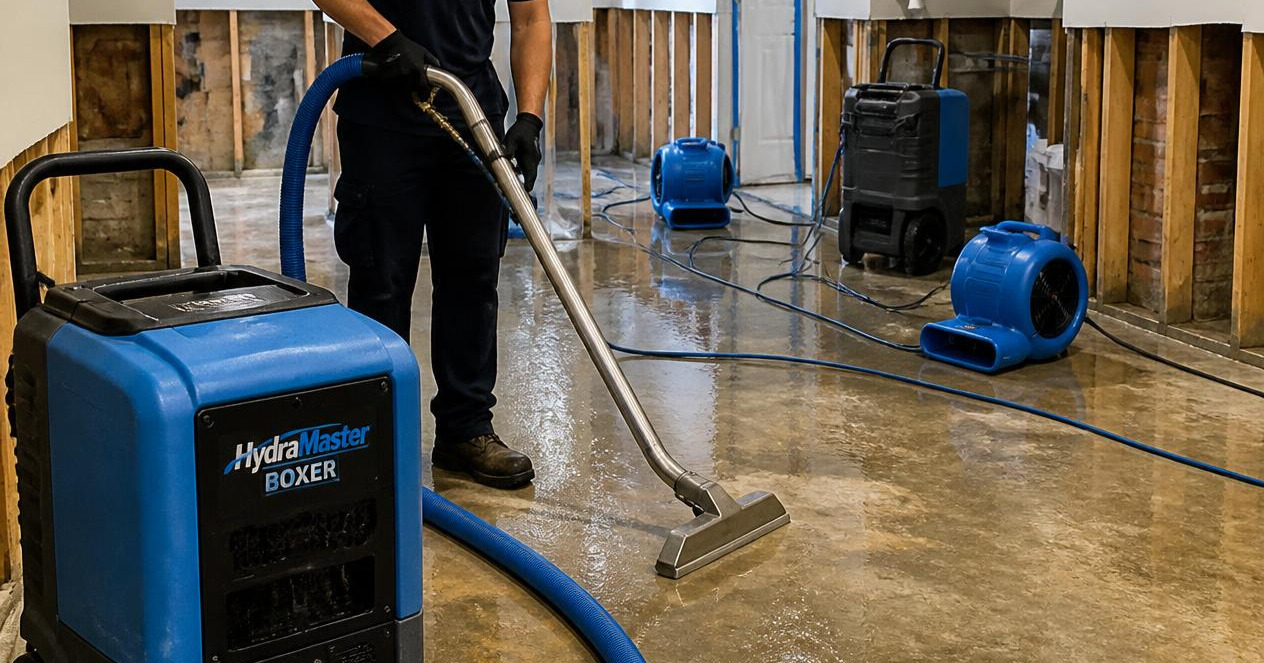
Whether you’re dealing with a burst pipe or a flooded basement, professional water damage restoration follows a fairly consistent sequence, regardless of the company you hire. Knowing what each stage actually involves makes it much easier to tell whether a contractor is following a proper process — and to know what to expect and when.
Step 1: Inspection and Assessment
Before any work starts, a restoration technician inspects the affected area to determine:
- The water category (1, 2, or 3 — how contaminated it is) and class (1–4 — how much moisture was absorbed and how hard it will be to dry), per the IICRC S500 standard
- The extent of the damage — using moisture meters and sometimes thermal imaging cameras to find water that’s spread beyond what’s visible, including inside walls and under flooring
- What’s salvageable vs. what needs to be removed
This step matters more than it might seem — the category and class determined here drive both the pricing and the entire plan that follows.
Step 2: Water Removal (Extraction)
Standing water is removed using pumps and industrial wet/dry vacuums. For carpeted areas, specialized extraction tools pull water out of both the carpet and the padding beneath it. The goal at this stage is simple: get rid of any water sitting on or in a surface before drying equipment goes in, since drying equipment is far less effective against standing water than it is against residual moisture.
Step 3: Drying and Dehumidification
This is usually the longest phase. Industrial air movers and dehumidifiers are set up throughout the affected area to:
- Circulate air across wet surfaces to speed evaporation
- Pull moisture out of the air so it doesn’t just resettle on nearby surfaces
- In some cases, specialized equipment is used for hard-to-dry materials like hardwood or concrete
Technicians typically return daily (or every other day) to take moisture readings and adjust equipment placement. A space isn’t considered dry because it feels dry to the touch — it’s dry when moisture meter readings on the affected material are close to those of an unaffected reference area. This phase commonly takes 3–5 days for a moderate job, longer for larger areas, dense materials, or humid climates.
Step 4: Cleaning and Sanitizing
Once dry, surfaces and any salvaged belongings are cleaned and, where the water category calls for it, treated with antimicrobial or antibacterial solutions to address contamination and reduce the risk of mold growth. This step is more involved for Category 2 and 3 water, where the goal isn’t just cleaning visible dirt but addressing contamination that isn’t visible.
Step 5: Restoration and Repair
The final stage covers whatever needs to be rebuilt — replacing drywall, flooring, insulation, or trim that was removed during the process. Depending on the company, this may be handled by the same restoration crew or handed off to a separate contractor for reconstruction. Minor restoration might mean a few pieces of drywall and some paint; major restoration can mean rebuilding entire rooms.
What a Realistic Timeline Looks Like
| Stage | Typical Duration |
|---|---|
| Inspection and assessment | Same day (often within hours of the call for emergencies) |
| Water extraction | Same day to 1 day |
| Drying and dehumidification | 3–5 days (longer for severe cases) |
| Cleaning and sanitizing | 1 day, often overlapping with the end of drying |
| Restoration/reconstruction | Days to several weeks, depending on scope |
A minor, single-room water event might be fully resolved (drying complete, minor repairs done) within a week. A major event involving reconstruction — a flooded finished basement, for example — can take several weeks to months from first call to final walkthrough.
What to Look for in a Restoration Company
- IICRC certification — the standard industry credential; a legitimate company should hold it and be able to confirm it without hesitation
- 24/7 emergency response — water damage gets worse the longer it’s left, so response time matters
- Willingness to document category/class and provide moisture readings — a company that skips this and just gives a flat estimate is harder to hold accountable if the job doesn’t go as expected
- Direct insurance billing experience, if you’re filing a claim — most established companies work with adjusters routinely and can help streamline that process
The Takeaway
The restoration process is more structured than most homeowners expect — it’s not just “dry it out,” but a sequence of assessment, extraction, drying, cleaning, and repair, each with its own standards for when it’s actually complete. Understanding the stages makes it much easier to ask the right questions of any contractor you’re considering, and to recognize when a job is being rushed through a step that shouldn’t be rushed — drying, in particular.